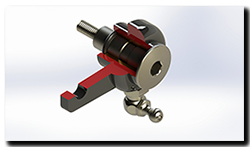
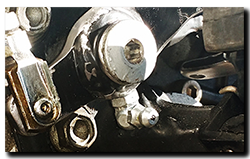
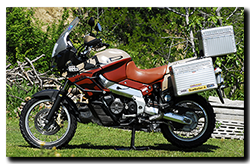
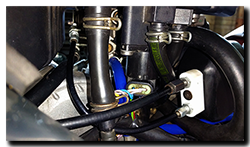
 While the Caponord was stripped for the vacuum check-valve replacement, I decided to get my act in gear and finally, once and for all, unequivocally ….. Sort out the MCCruise control/throttle cables. Last year I relocated the CIU (Cable Interface Unit) to the left hand side of the throttle body. This had pros and cons ……….. The upside was a lighter feel on the throttle grip, the downside, the Servo/CIU and CIU/Throttle body cables were overly long and the Servo cable fed into the CIU from the wrong side. However, the cruise was working perfectly and so it became one of those ‘mañana’ jobs!
Well today is that tomorrow! First I jotted down a list of what had to be done:
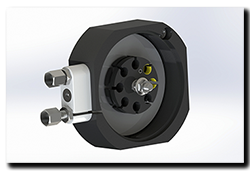 1. Make a spacer to fit onto the side of the CIU. This is to move the throttle cable adjuster further out and make the inner cable a better fit on the spool.
2. Drill new cable holes in the CIU so it can be rotated 180° so the Servo cable enters from the rear not the front as is the current arrangement.
3. Shorten the CIU/Throttle cable while allowing for the new spacer at the CIU – 350mm down to 190mm.
4. Shorten the 1,150mm Servo cable to a more reasonable 750mm!
I have to say here and now that I do like learning new skills or adapting old ones to suit a new task. I also have to admit that in a good few years on this Earth, I’ve never made up or adjusted 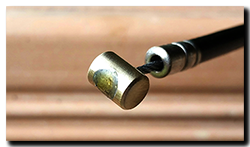 the length of clutch/choke/throttle cables before! So time to adapt the electronics soldering skills and brush up on required technique courtesy of the Internet. Now I’m not going to bore you to tears telling you how to do it – there is tons of advice on various websites/YouTube. Suffice to say, sort out the duff advice from the good, have the right equipment to hand and practice, practice, practice …… do the job once and do it right! All the cable bits and pieces I needed came from Venhill in the UK.
By late afternoon everything was buttoned up and the cruise control recalibrated after the throttle bodies were rebalanced, fault codes cleared and TPS reset via TuneECU. As the sun faded behind the hills I cracked open a cold beer happy with how the day played out …. Time then to put the tools away and get back to revising for the next Amateur Radio Exam!
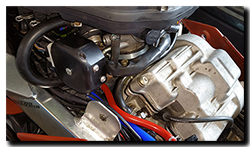 The MCCruise has been installed for approx. 25,000 miles and worked perfectly throughout. The CIU was relocated because the initial location proved to be problematic – causing slight binding of the throttle cable. This meant that the cables supplied in the kit (as specified by me) were now the wrong length and the orientation of cable entry into the CIU was wrong.This is not the fault of MCCruise, what they sent is what I asked for! Should anyone else wish to go down this route I will of course be glad to provide notes/measurements etc so a kit will be a simple bolt-on job.
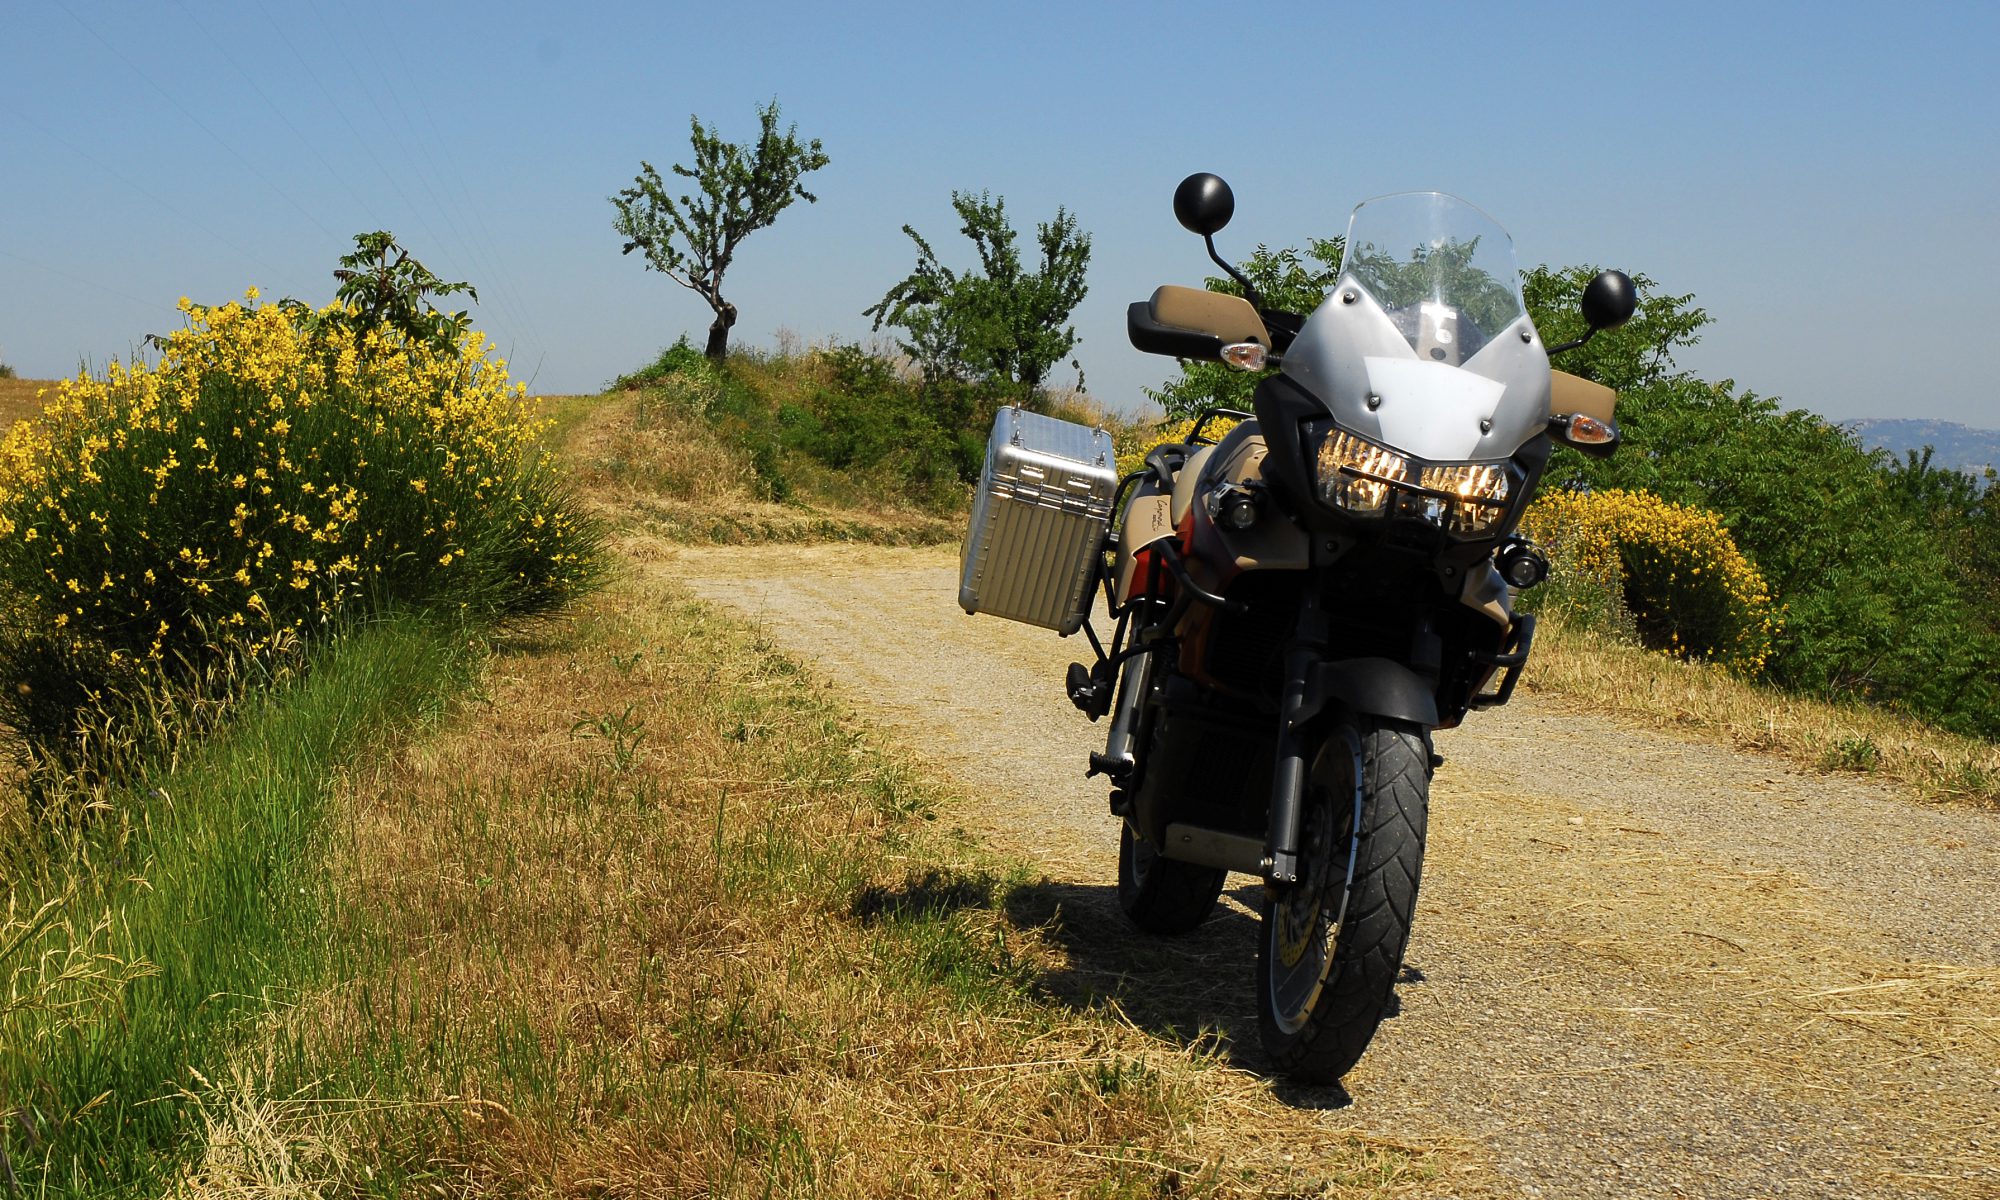
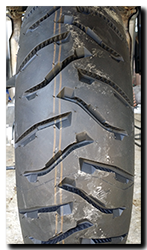 Well yesterdays arrival of a spanking pair of Michelin Anakee 3’s makes the total number of tyre types fitted to the Capo a head spinning …… 5. The OEM fit Tourance, oodles of TKC80’s and Karoo 3’s and one fantastic set of Anakee 2’s. They were by far the best with excellent grip and long life – so the Anakee 3’s have a hard act to follow, I wonder how they’ll compare.