Dodgy solenoid hmmmm?

Aprilia Caponord ETV1000 Rally-Raid L1 50A starter solenoid burnt pitted contacts
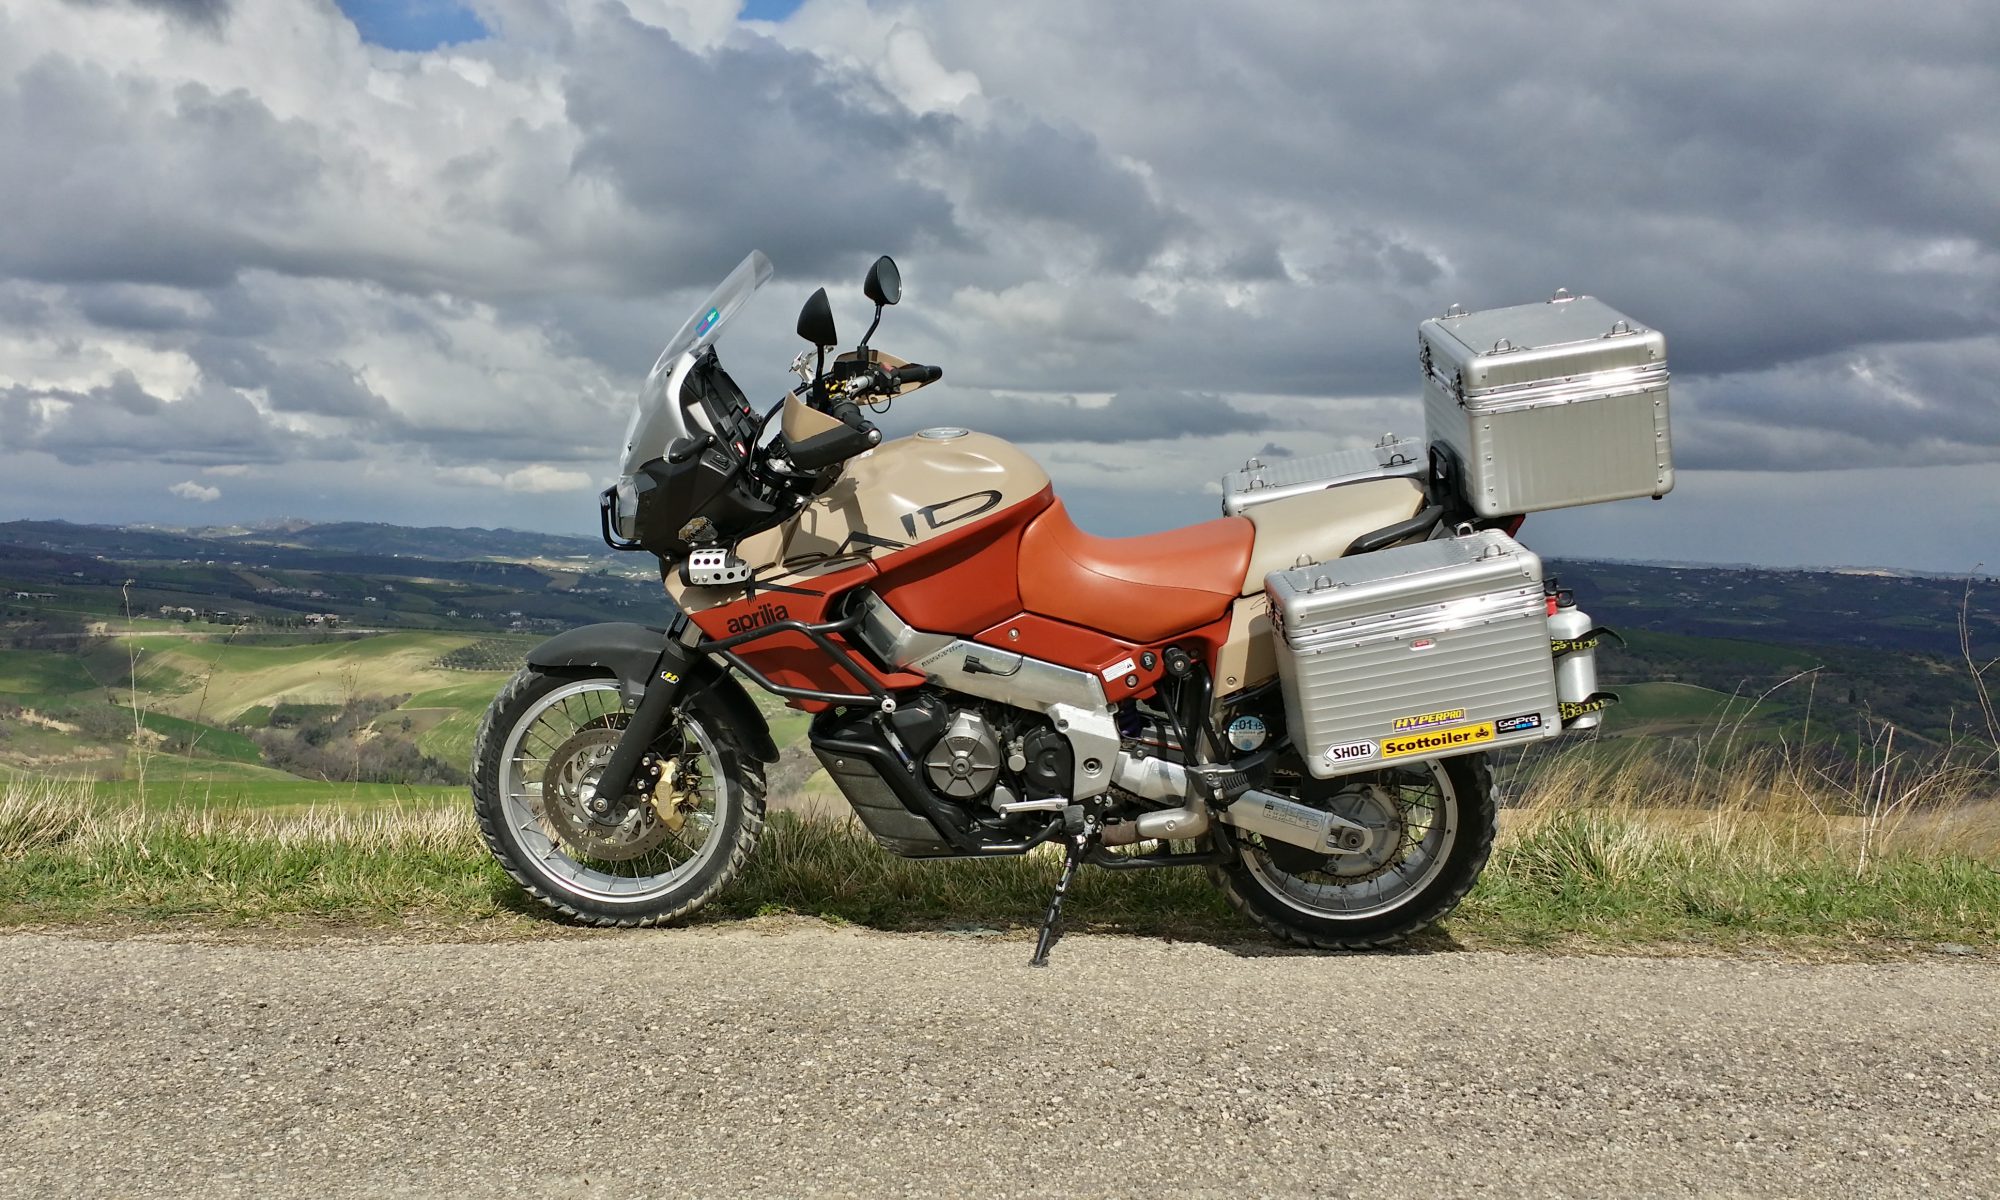
I honestly couldn’t believe my luck ….. dozens of perfectly normal starts after the one stuck-solenoid moment during our 10 days away and then, this morning in the comfort of the old barn, first start of the day it stuck again!

So it was off with the seats, top deck and right hand plastics, disconnect the battery Earth (Ground) then snip a few tie-wraps, unclip the two-pin connector and twiddle the 10mm spanner to undo the battery/starter cables from the old solenoid and voila! One dodgy 50A and 14 year old solenoid confined to the bin …… by way of stripping, measuring and knocking up in CAD!

It’s pretty obvious from the picture that one side of the contacts has been burnt and welded together such that the return spring couldn’t provide enough force to pry it apart again – that was the job of a swift whack from the all-powerful 1/2″ ratchet!

Aprilia Caponord ETV1000 Rally-Raid L1 50A starter solenoid cutawayThe new solenoid (AP81129275) was bench tested and shows a coil resistance of 4.4Ω pulling 2.9A at 12.8V – approximately! Now 2.9A is quite a current draw in itself, especially when you take into account the amount of wiring (under specified?) and switches/diodes along the way. The only way the solenoid really has of reducing pitting/burning is by opening and closing as fast as possible – opening is purely by return spring but the closing speed is proportional to the applied Volts/Amps ……. and if this is low then the solenoid will become sluggish and more susceptible to damage. So tomorrows little job will be to look at losses through the entire circuit up to the solenoid. In fact looking at the circuit diagram and simulating it in ‘EveryCircuit’ (Android app) it seems that the best possible current flow path you can give the solenoid is – bike in neutral, side-stand up AND pull in the clutch before hitting the starter … this adds a mighty 0.1V over ‘neutral only’. In comparison bypassing the diode block completely could elicit another 0.55V at a struggle!

Aprilia Caponord ETV1000 Rally-Raid L1 50A starter solenoid exploded parts

CGI dashboard – 1

Aprilia Caponord ETV1000 Rally-Raid dashboard, instrument panelSlowly getting more parts of the Capo into CAD/3D …. finishing the dashboard motor off (after almost 2 years!) gave me the nudge to get the circuit board done. Here’s a work in progress, only a couple more chips to fit. Then the inlay and case / lens will see it polished off. Can I keep up the momentum or will galloping apathy step in … hmm who knows! 😕

AlternatorCapo charging system  ….. a new page going up shortly with a fair bit of (new) info regarding alternator output, waveforms, voltage, current and how those are affected with the attachment of different technology regulators – plus how exactly those regulator-rectifiers do the job of producing rectified DC. Pitched at electrical newbies I’ll be running through each of the components and what they do electrically (hopefully) in a way that makes sense, including why some wires can be thin and work just fine and why some regulators get hot and others don’t.


Flat-line dashboard

Franken-Capo
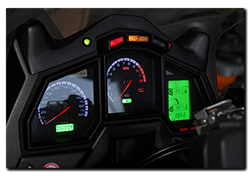
With just over 82,000 miles on the Caponord, the dashboard died. Yes, while about to set off from a rather innocuous little shop car park on a hot and humid afternoon, the dashboard shuffled off its mortal coil … Curled up its toes, bought the farm – as dead as the proverbial Dodo.

On the way home I mulled over the possible cause, was it the additional microcontroller/hardware I added in 2013 or simply a failure of some part of the original Magneti Marelli circuit board? By the time I got home, I had a few possibilities rolling around my head, but nothing concrete. 15 minutes after cutting the ignition, the dashboard was on the test-bench.

Ultimately the fault was traced to a ‘Via’, a hole where a signal/power track passes from one side of the board to the other. In this case, where there should have been 12 Volts, there was 2 Volts! A simple wire link bypassed the problem and the dashboard popped back into life.

So is it a design flaw or manufacturing defect? I’d say probably a bit of both! Below is a photograph of the faulty area on a Mk1 and Mk2 board. Notice the Mk2 (right hand) has a much larger track area AND has 4 Via’s instead of the Mk1’s single Via bringing power from the top of the board to the underside. All well and good BUT both boards still only have a single Via (red dot) to pass power to the regulator on the front ……….. And it’s this Via that failed!

Aprilia Caponord ETV1000 Rally-raid dashboard track

 It seems that this was known to be a troubled area and was re-designed …. sort of. But the fact that the last Via was never upgraded, simply left this as the weak link – unfortunately, one of many on these boards!

Anyway, this one’s a runner for now ……. and that’s a jolly good excuse for a run around for an hour or two to thoroughly test it out! 😀

Reading the current situation

©Lockwood International 2014 - UK Futura inlay with voltmeter, L&R indicators and sidestand lightWith the new inlay nearly complete and sufficient testing of the modified dashboard to prove its reliability in day-to-day use, it’s now time to move on and complete the next stage of miniaturising the circuit board. The big grey box and wiring loom holding the Arduino Uno stays for the time being, but now it will house the smaller circuit board and Arduino Nano. Once thoroughly tested, the box and loom will disappear as the board finally gets mounted inside the case.

Aduino Nano and Pololu 1300 programmerThis time around the microcontroller will be programmed differently to speed up the start time and free up more memory space. For that I’m using a Pololu 1300 programming device ….. Something I’ve never done before, let’s hope I don’t fry it! If all goes well, that then leaves me an Arduino Uno spare and it would be rude not to find another Caponord related little job for it! So here’s the next project…..

I’ll be installing the Uno and three of these naughty little puppies along with and LCD screen into the redundant grey case. Self-powered, it will measure current flow through the 30A rec/reg fuse and the two main 30A fuses simultaneously. The screen will Pololu ACS714then display measured and calculated data as well as storing the data onto an SD card mounted into the display. So it’ll be a data-logger as well!

The idea is to have the three ACS714 devices, wiring loom and a single multi-pole connector under the saddle. The unit will then simply plug into the connector and merrily measure away. A decent battery and memory card should make data logging for 2hrs + pretty straight forward. So watch this space ………


Low voltage battery warning LED

Aprilia Caponord ETV1000 Rally-Raid - voltmeter in right hand fairingI’ve already got a voltmeter in the right hand fairing and although I wouldn’t be without it, I have to say it suffers from a  couple of drawbacks.

  • Poor readability in very bright daylight (Blue LED display)
  • Low down in the fairing, so requires eyes to be diverted from the road ahead.
  • I also have to lean forward a little to see over the hand-guard/brake master cylinder.

Aprilia Caponord ETV1000 Rally-Raid - Sparkbright battery monitorSo I decided I wanted something more in my eye-line, something that simply displays as a go/no-go indicator, something simple; and it looks like SparkBright have just the solution. A neat encapsulated circuit feeding a Tri-state LED that will display a different colour depending on the system voltage. Now my peripheral vision should quickly spot a change in the Caponord system and give me ample time to take action. Here’s a table that explains the various states of the LED at different voltages.

 The package can be supplied with LED sizes of 5mm/8mm or a whopping 10mm. I chose the 5mm as it will match the one I already have in place for the Autoswitch AS7 (fog lights).  Before ordering I had a couple of questions and sent off a quick email – bear in mind this was a Sunday morning. Before I could even read through the Sunday funnies, Andrew Ferguson owner and guiding light behind SparkBright had replied – now that’s dedication! the bottom line – It does what I want and it’s waterproof, ideal for motorcycle use then!

Anyway, long story short, Andrew agreed to make a change to the mounting clip for the LED (at no extra cost – see gallery below for clip differences) and also told me of an exciting new development just around the corner for this product; auto-dimming built right into the LED for the 8mm and 10mm options. Sadly it won’t be available on the 5mm version for some time to come. However, this bit of technology is something the Capo is aching for on the Autoswitch Red/Green LED (fog lights) I already have fitted. By day it’s fantastic, but by night it’s just a little too bright.

Aprilia Caponord ETV1000 Rally-Raid - dashboard with AS7 Autoswitch LED and Sparkbright battery monitor

LED symmetry. Hopefully !!

So I’ll wait for Andrew to send this unit and if it does what I need of it, I’ll no doubt upgrade to the 8mm auto-dimming version and retro-fit this one to my tractor ….. about time I dragged it screaming into the 21st century. And maybe if I ask nicely, he may be able to help me upgrade the Autoswitch LED as well!

You can contact Andrew direct at [email protected] or bookmark www.sparkbright.co.uk (website should be up and running by the last week of October). You’ll also find them on Ebay, just search for “12v battery warning light”. The cost? £11.80 including P&P (UK) as of 21st October 2012.

  I’ll finish by saying I have no affiliation or involvement with Andrew other than as a customer – I just like the product!